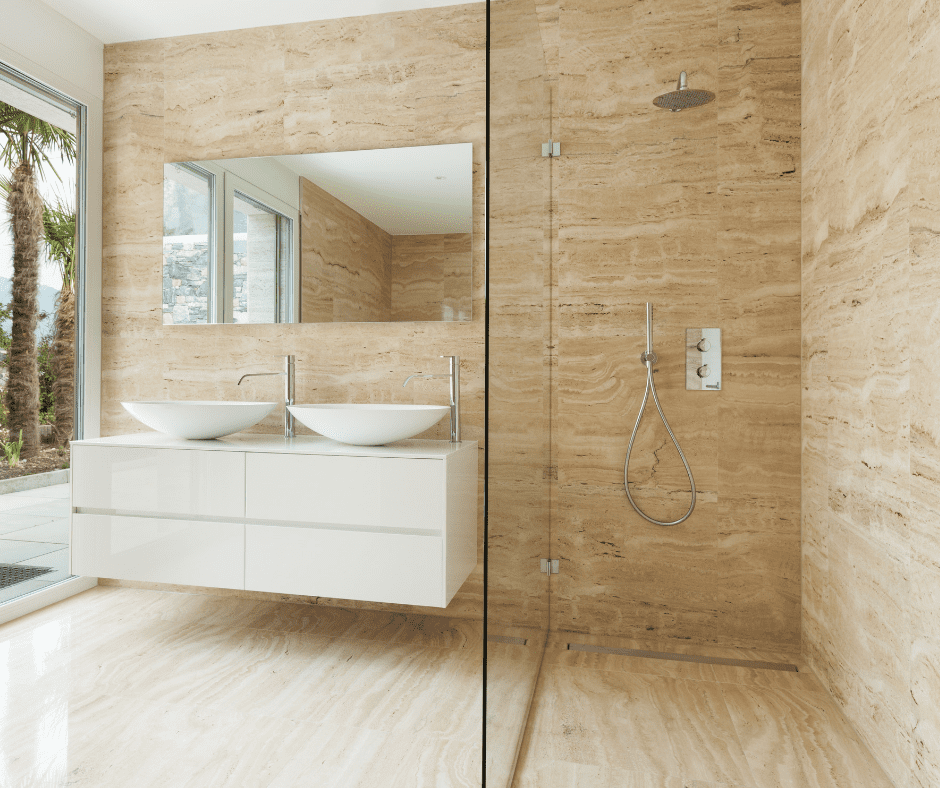
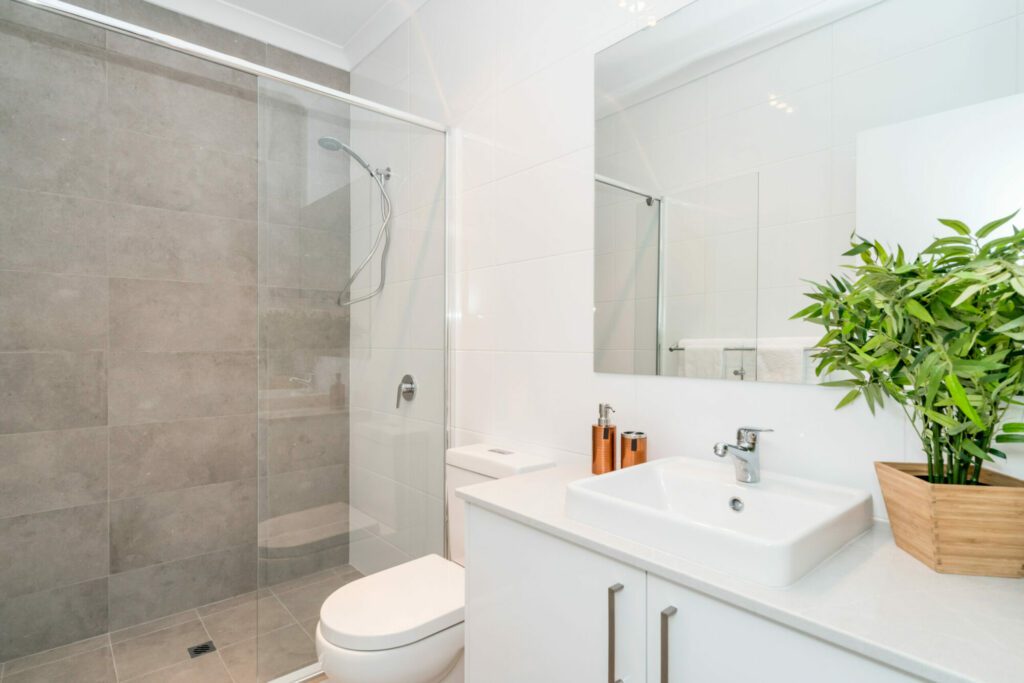
In some situations, the off the shelf shower screens just won’t fit your spaces so we can provide the bespoke glass panels with all of the fittings such as hinges, handles, knobs, seals, channels and tie bars. We can manufacture toughened glass in clear or obscure to suit your requirements in any shape or size. Whether you are looking for a wet room screen, shower screen, bath screen, shower door or even the full enclosure we can assist you.
Recommendations
It is usually recommended that you use 8mm or 10mm toughened glass. This glass will be connected to the walls or each other using channels, hinges or bracket of which we can supply. If fixing to walls they should be solid or if stud walls extra studs will be required. We can offer an invisible shield (Ritec Coating) as anti-limescale treatment for the screens upon request. Fixed Panels usually sit inside channels but you can use brackets if preferred. In certain situations we also recommend using a tie bar for extra stability. Doors are usually hinged with 2 hinges but we recommend 3 when over 2 metres tall. Do not stand the glass on a hard surface like concrete – it will shatter! All fittings should be protected from the glass edges using supplied isolators.
Take measurements from finished surfaces only. Tiling and shower tray / wet room floor must be installed and level.
Accuracy
Measurements need to be accurate as toughened glass cannot be altered.
Reductions for fittings
Reductions for fittings are shown on our tech sheets but please don’t hesitate to call our Sales Department if you require assistance on 020 8500 1188. If you are more confident to template please use a hardboard and it is advised to order the fittings in advance.
Drag through to see more
Installation Guide - Fixed Panel (using brackets)
Click through our Installation Guide below.
Attach the wall brackets
Attach the wall brackets to the glass & gently tighten so they sit in the correct orientation, keep as central as possible in the hole to allow for maximum adjustment at a later stage.
Attach the floor bracket
Attach the floor bracket to the bottom of the glass make sure the bracket is not too tight at this stage as it will be removed during the following steps.
Place packing on the tray
Place 6mm packing on the tray; make sure the bottom bracket does not sit on the packing it should be just touching the tray when the glass is offered up.
Level and prepare
Move the glass toward the fixing wall, using a spirit level make sure the glass face is perfectly plumb. Mark the bracket hole positions through the brackets. Whilst still in the same position draw the foot print of the floor bracket.
Install & apply fixings
Remove the glass & brackets from the tray, drill the wall & insert plastic plugs ready to receive the screw fixings. Remove the bottom bracket from the glass, sit it on the foot print drawn on the tray earlier & mark the fixing hole. Drill & plug the hole, apply silicone to the base of the bracket & plastic plug, screw the bracket down to the tray, be careful to only tighten this gently over tightening will damage the tray & serves no purpose, this bracket will provide lateral restraint only.
Lift glass in to position
Place a 1mm packer on the floor bracket, now lift the glass back in to position standing it on the 6mm packers as before. The glass is manufactured square so any discrepancy in the building work will be seen at the wall. Using a spirit level on the outside edge of the glass make sure it is plumb, any discrepancy here indicates the tray is not level. The glass must be installed plumb as the adjoining panels will also be square & have no adjustment if the gaps are to be kept even.
Secure the brackets
Slacken slightly the wall to glass fitting brackets then secure the bracket firmly to the wall followed by tightening the glass clamping screws top & bottom. Then fit the bottom side plate fixing & tighten
Finalise
The tie bar can now be positioned & secured ensuring the glass is plumb in both planes. The wall fixing is concealed within the tube/sleeve.
Drag through to see more
Installation Guide - Door Panel
Click through our Installation Guide below.
Attach hinges to the glass
Attach hinges to the glass & gently tighten so they sit in the correct orientation, keep as central as possible in the hole to allow for maximum adjustment at a later stage. IMPORTANT: If using adjustable hinges make sure the pivot clamps (‘hump-back bridges’ top and bottom of pivot pin, see image below) are level at this point or they may restrict the clamping force applied by the hinge and use all supplied gaskets up to 10mm glass. With all 4 loose you can change the finishing position of the hinge then tighten them to set where the glass will spring close to. Use this feature to set at an angle from the wall or overclose to add more pressure to closure seal.
Fit 6mm packers
Fit 6mm packers to the top of the tray where the door will sit.
Level and mark glass
Sit the glass on to the packers make sure the door is sitting upright by using a spirit level on the face of the glass once achieved mark through the hinges to identify where to drill.
Drill holes
Remove the glass out of the way & carefully drill the holes. BEWARE the door is heavy & will require a very secure fixing surface, we do not advise fixing in to plaster board, it is the fitters responsibility to ensure the fixing point is suitable to carry the weight.
Finalise
Once drilling is complete insert plastic plugs then present the door with hinges still attached in to the opening, sit back on top of original packers to ensure alignment is maintained, fasten the screws completely in to the wall, then tighten the glass clamping screws firmly on to the glass, open the door & remove the temporary packers.
Drag through to see more
Sealing Guide
Click through our Sealing Guide below.
Fixed Panels – Silicone
The rubber seals are for use on the door only!
Prepare surfaces for sealing
The fixed panels are sealed with clear silicone sealant the surfaces need to be clean & dry. The sealant is applied to the vertical & horizontal surfaces then tooled to produce a perfect finish. Allow the silicone to cure before using the shower; the silicone tube will have the drying time stated.
Door
It is a good idea to practice cutting the seals on any off-cuts supplied. Seals can be pulled off the glass to take up width discrepancies.