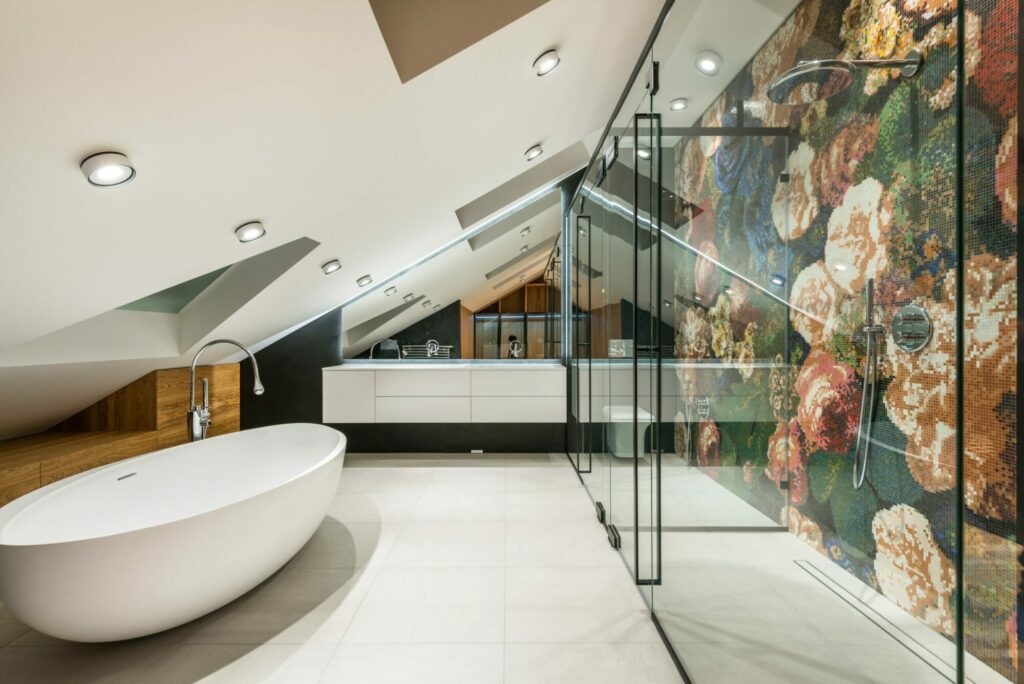
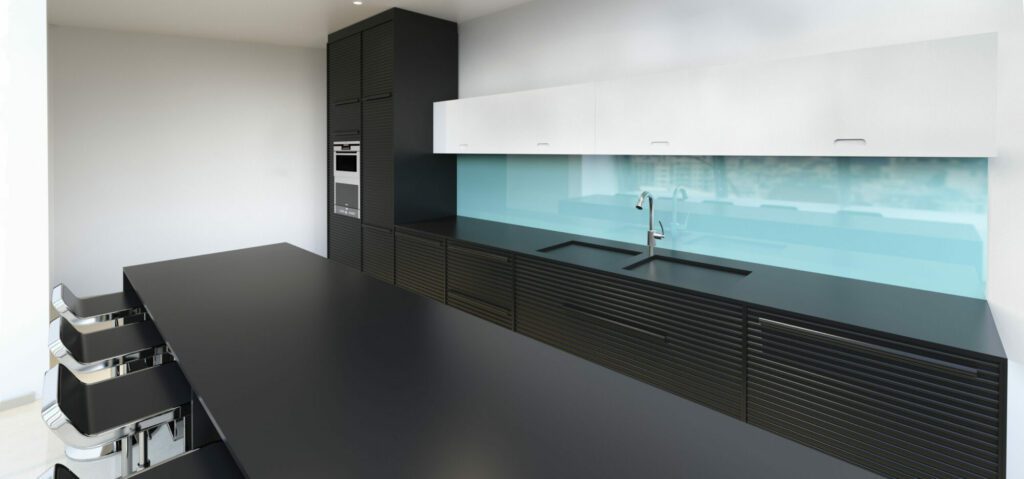
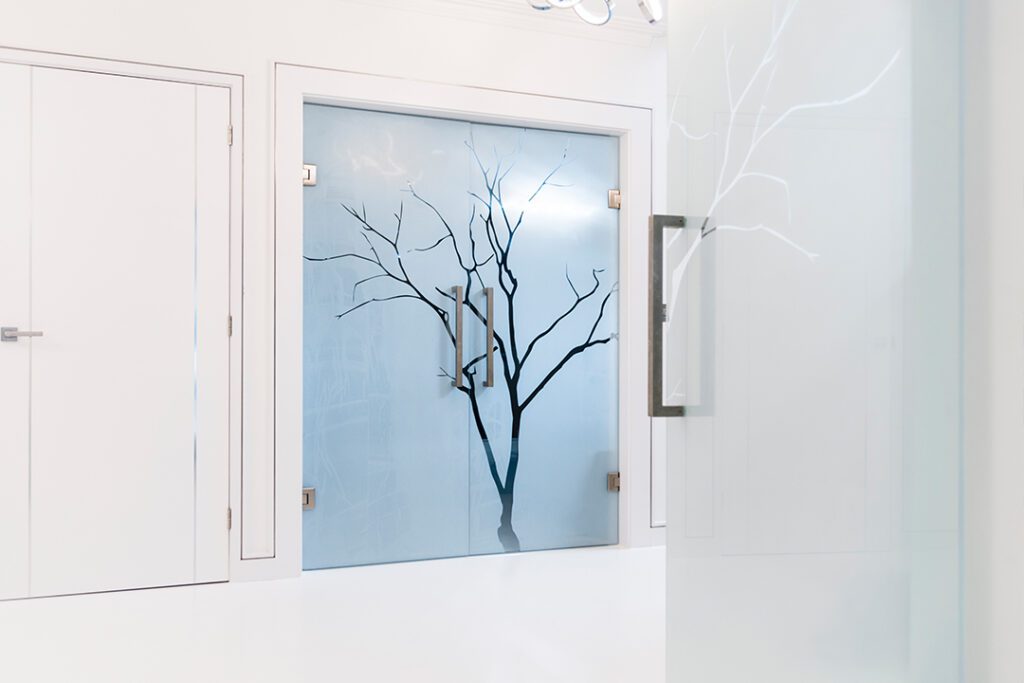
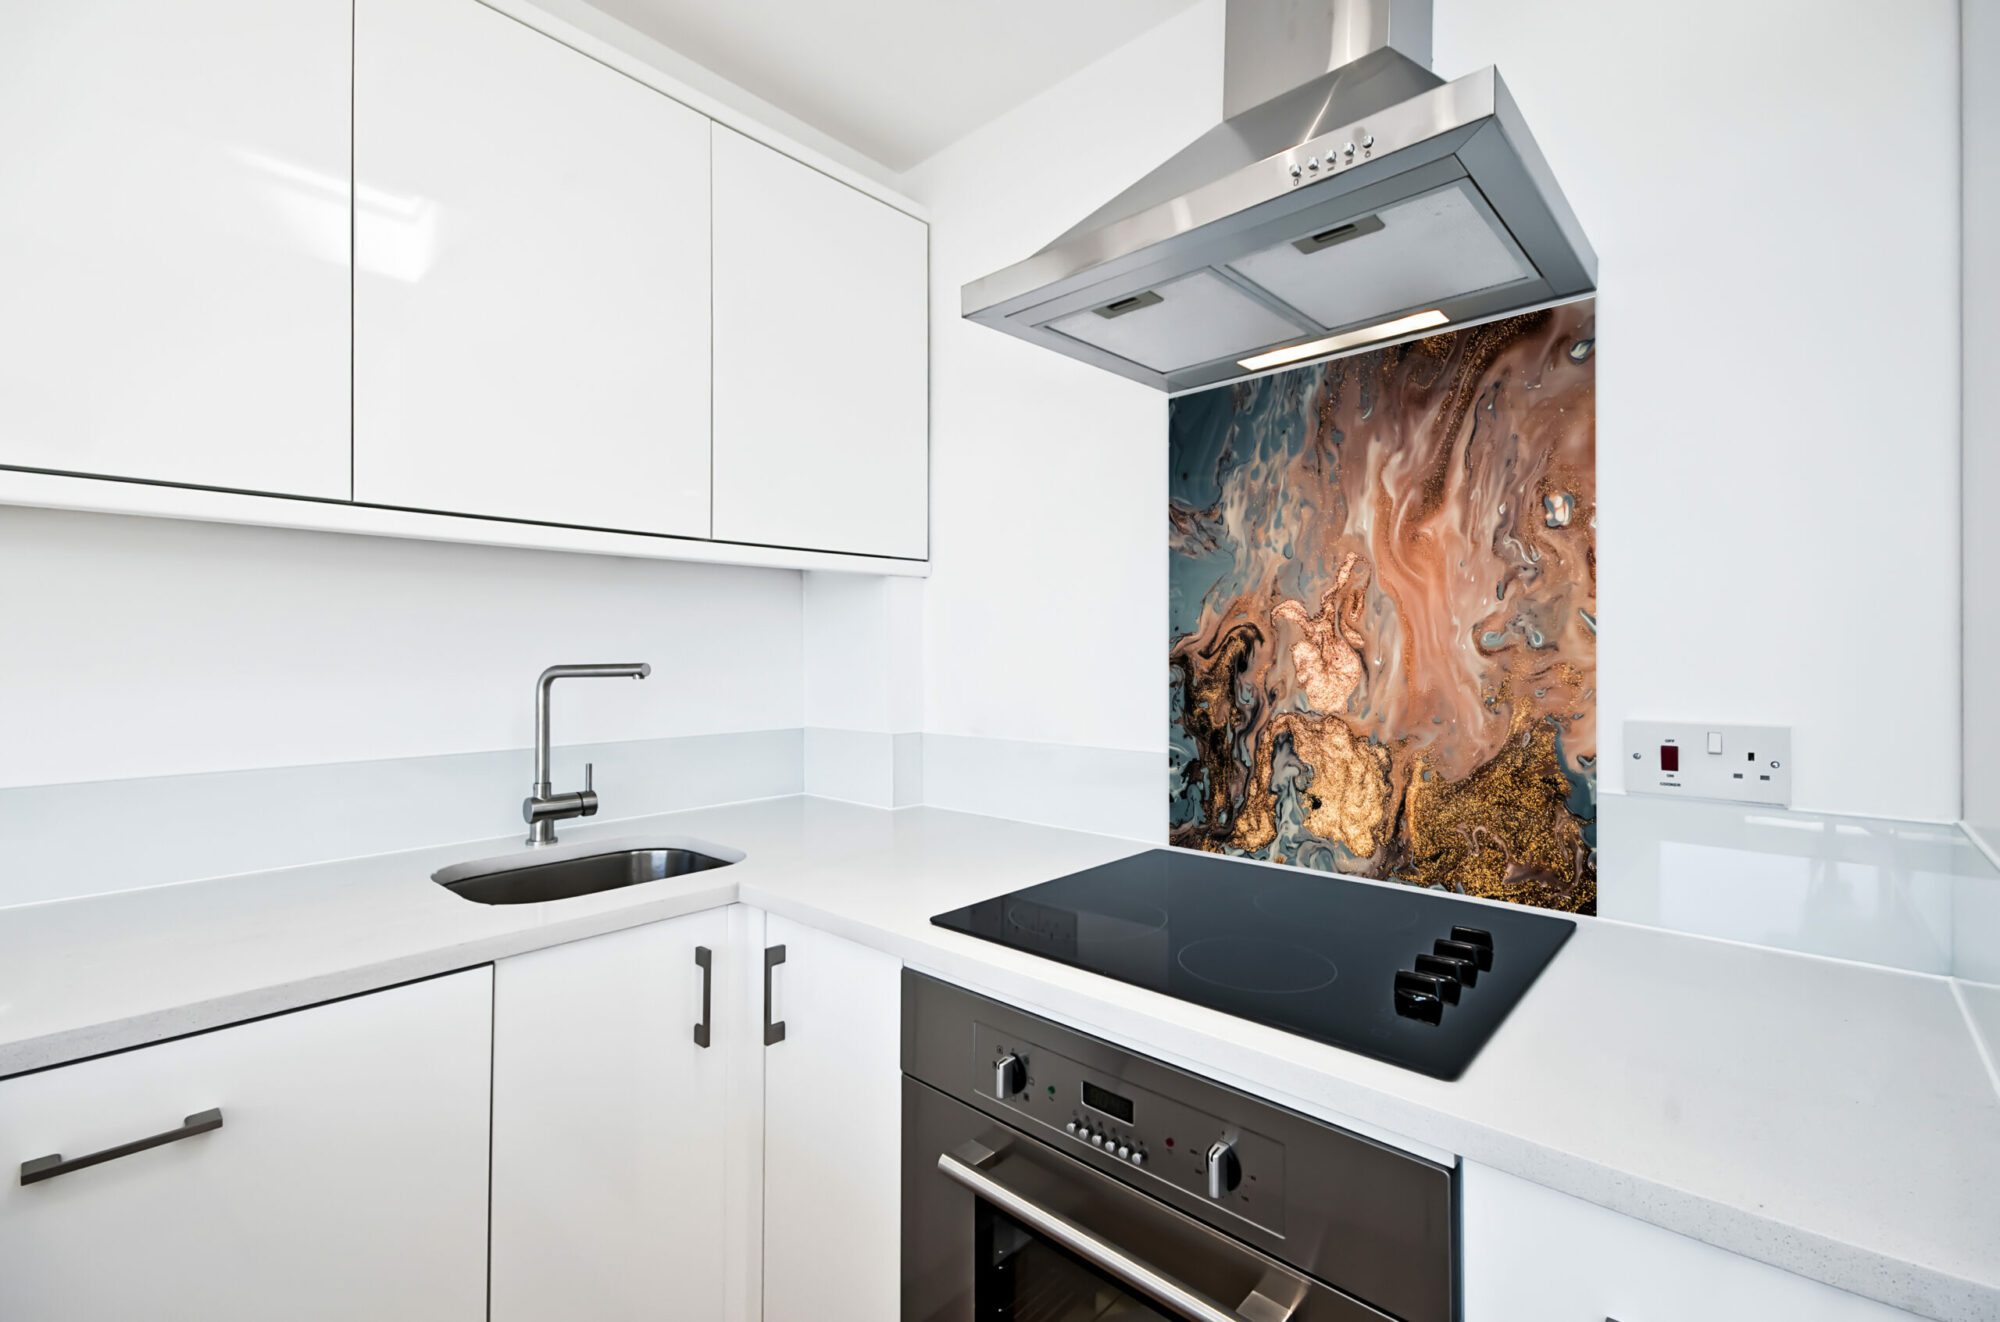
Splashbacks
They say the kitchen is the heart of the home so it’s very important that you can easily add some extra light and colour with the aid of toughened glass splash backs. Toughened glass splash backs can add both beauty and strength to the kitchen providing that extra dimension to make your home stand out from the rest. Light is important to any kitchen and the wonderful reflective qualities of glass can transform the smallest area and bring individuality to larger areas. With no grout lines the look is seamless and there are very few limitations with what can be achieved in terms of colours, shapes and sizes.
Toughened glass splashbacks aren’t just aesthetically pleasing they are also extremely effective for protecting your walls from staining and water damage. A glass splash back behind the hob or stove allows for easier cleaning of all foodstuffs that could potentially stain your bare walls. The properties of glass make it easily cleaned when marked with water, grease, foodstuffs and bacteria. With the glass being toughened it is both physically and thermally stronger than regular glass so that the heat of the hob and the stress of knocks are highly unlikely to make the glass shatter.
Template Guide
See our Template Guide steps below.
Installation Guide
Click through our Installation Steps below.